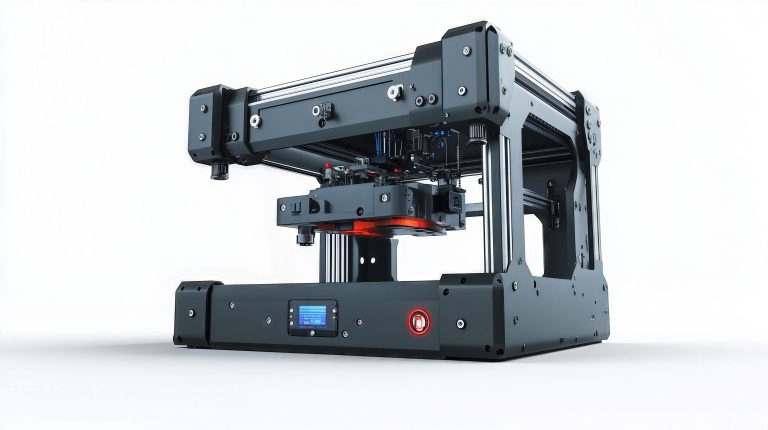
The Physical Computing Makerspace at UMass, Amherst currently uses Prusa and Bambu 3D printers. Below are some instructions for getting started with 3D printing on these printers.
Overall steps:
- Make or find a 3D object file, like an .stl or .obj file.
- Import the 3D object into a slicer software.
- Prepare and slice your 3D files into a g-code file.
- Transfer the g-code file to a 3D printer.
- Set and run the 3D printer.
- Remove your print when it’s finished and clean up.
Make or Find a 3D Object
You can download a ready-made model at many online resources, like
- https://www.thingiverse.com/
- https://www.printables.com/
- https://makerworld.com/
- NASA’s 3D models
- Check our References page for more
You can make your own models with software like the ones below. Each has free access for educational use. If you’re new to making 3D models, Tinkercad is the best place to start. It’s always free, geared toward entry-level design, and an easy way to get started.
- Tinkercad — browser-based, basic (best place to start)
- OnShape — browser-based, used by some UMass robotics teams
- Fusion 360 — an industry standard that we use most in PCM
- SolidWorks — an industry standard for fields like engineering
Slicer Software
We use two main slicers that correspond to our 3D printer ecosystems: Prusa Slicer and Bambu Studio. There are many slicer software packages that all basically do the same thing–turn 3D models into something a 3D printer can print. Feel free to explore our References for more information on slicers.
Add 3D Printers To Your Slicer Software
Regardless of which one you use, you’ll need to add a 3D-printer configuration for the printers in our makerspace to your slicer software.
To add a printer to Prusa Slicer, open Configuration>Configuration Wizard… Then follow the steps to get set up. Make sure you select the printers listed below under the Prusa Research section. You can leave everything else as the default values.
To add a printer to Bambu Studio, under the Prepare tab, click on the upper left Printers button, then choose —Select/Remove printers (system presets)–. Choose from the Bambu printers below.
Our Prusa Printers:
- CORE Family
- Prusa CORE One
- HF0.4 mm nozzle
- Prusa CORE One
- MK4 Family
- Original Prusa MK4 Input Shaper
- 0.4 mm nozzle
- Original Prusa MK4 Input Shaper
- MINI Family
- Original Prusa MINI & MINI+ Input Shaper
- 0.4 mm nozzle
- Original Prusa MINI & MINI+ Input Shaper
- MK3 Family
- Original Prusa i3 MK3S & MK3S+
- 0.4 mm nozzle
- Original Prusa i3 MK3S & MK3S+
Our Bambu Printers:
- Bambu Lab P1S
- Bambu Lab X1 Carbon
- Bambu Lab H2D
Prepare and Slice
The slicer software translates the 3D models into g-code that the 3D printer can interpret as instructions for how to move and extrude hot plastic filament. You’ll need to set a few parameters that will help the slicer software determine how to slice your objects.
Layer Height: (good choice: 0.24mm or 0.20mm) how tall each layer of extruded material will be. Generally, our printers work well in a range of 0.15mm to 0.30mm for layer heights. A good place to start is 0.2mm for Prusa printers and 0.24mm for Bambu printers.
Filament: (good choice: PLA) this is the type of plastic filament that the final object will be made of. Most of our prints are done with PLA.
Printer: select the model of printer you’ll be using (MK4, P1S, etc.).
Supports: sometimes models will have overhangs–places where the the model isn’t supported by material underneath it. In these cases, you’ll need to add supports so that the overhangs have something to build on. The slicer software will automatically design supports when slice your model if you’ve turned this feature on. You’ll remove the supports after the print finishes. Each slicer software allows you to manually add supports by painting areas that you think will need them, or selecting overhangs automatically by incline angle.
Infill: (good choice: 15% or 20%) the interior of a 3D print volume is usually not filled with 100% plastic. It’s a combination of a support structure infill and open space. The infill is the percentage of interior space filled with supportive material. For example, 15% infill fills 15% of the interior space with plastic. There are many types of infill patterns (like rectilinear, gyroid, or grid) that you can manually choose, but the default settings are usually sufficient. You’ll need to choose the percentage of infill–good choices are usually 15% or 20%. More infill slows the printing and can cause issues with uneven heating/cooling.
Export and Transfer To Printer
Once you’re done setting up the print and slicing it into g-code, you’ll export the g-code to the printer. This can be done wirelessly or via removable media like an SD card or USB flash drive.
Load the g-code onto the printer, then navigate the printer’s menus to start your print. At this point you can change the filament on the printer if needed. Follow the on-screen instructions for how to do this.
Find your g-code, and select it to start printing! The printer should heat up; both the print bed and the extruder nozzle will heat up. After some automatic calibrations, the print will begin. Check the display for information on completion percentages and expected finish time.
Finishing Steps
Once the print has finished, the bed and nozzle will begin to cool. If you remove your print right away, watch out for places where it might still be hot, especially the base where it is connected to the build plate.
Remove the build plate from the printer and bend it so that you release parts of your print. Some prints will fall right off, others might need a bit more coaxing to fully release. You can twist, wiggle, or pry your parts off. Please don’t use metal tools to scrape your prints off the build plate. It can damage the coating on the steel plates. Instead use a plastic scraper as a last resort to releasing your part.
Once the build plate is clear, please spray the plate with 91% isopropyl alcohol and wipe it down with a paper towel. This removes any oils that have built up on the plate. If left uncleaned, future prints might not stick to the build plate.
Remove support material carefully from your print. You can recycle the support material in our recycling boxes in the 3D printer room.
Enjoy your new 3D print! Share a picture of your new print in our Discord!